
In this blog post, we will show you how to containerize a Blazor .NET application using native tools—without relying on third-party scripts or complex setups.
Microsoft .NET is one of the most popular development frameworks today, offering a wide range of deployment options. Running applications in containers and adopting microservices design patterns allows us to decouple components, simplify scaling, and reduce the deployment footprint. Thanks to .NET and Docker, containerizing modern apps is not only possible—it’s straightforward, as you’ll see below.
Prerequisites
Before we get started, make sure Docker is installed and running on your machine.
Tools
Generally speaking, there are two main tools you can use to containerize a .NET application:
- Docker CLI – Comes with Docker and lets you manage containers and images via the command line.
- VS Code Container Tools extension – An excellent add-on that integrates with Visual Studio Code and simplifies the containerization process.
I recommend using the Container Tools extension, especially if you’re already working in VS Code. It streamlines the workflow and reduces the chance of human error when generating Docker-related files.
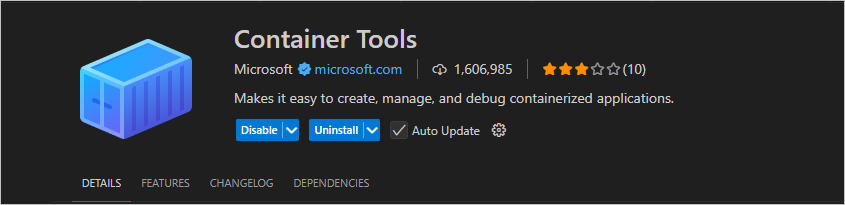
Link to Container Tools
Containerizing the Application
With Docker installed and the tools in place, open the .NET project you’d like to containerize.
- In VS Code, open the Command Palette (Ctrl+Shift+P).
- Search for and select “Containers: Add Docker Files to Workspace”.
- Choose your target platform and .NET version when prompted.
VS Code will automatically generate a Dockerfile in your project folder with all the necessary build instructions to package and run your app inside a container.
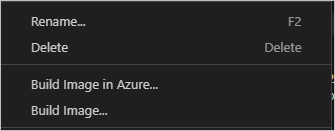
Once the Dockerfile is created:
- Right-click on the Dockerfile and select “Build Image”.
- Wait for the build process to complete—it will create a Docker image of your application.
Running the Application in a Container
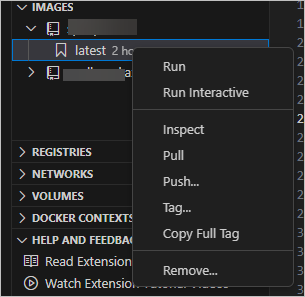
After building the image:
- Open the Container Tools panel in VS Code.
- Locate the newly created image under the Images section.
- Right-click on the latest version and select “Run Interactive”.
You’ll see the container spin up in the terminal. Once it’s running, open your web browser and navigate to http://localhost:<port>, replacing <port> with the one defined in your Dockerfile (usually 5000 or 8080 for web apps).
You should now see your Blazor app running in a container—fully isolated and portable.
Discover more from CPI Consulting
Subscribe to get the latest posts sent to your email.